
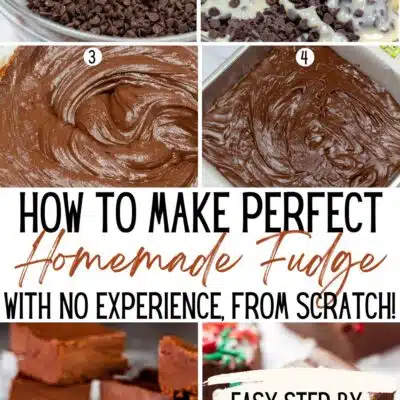
Learn how to make fudge in both the microwave and on the stove so that you can prepare perfectly rich and creamy fudge every time! No matter the kind of fudge you want to prepare, I have all of the best tips and tricks to help you out! Whether you are a seasoned candy maker or a complete beginner, you will easily be able to follow along with this step-by-step guide!
Guide To Making Fudge
Fudge is such a rich and decadent treat that is high on my list of favorite sweets to gift to others! It is easy to make and comes in a ton of different varieties, so you'll be able to find a kind of fudge no matter what your favorite flavors are!
Many people are easily intimidated by the thought of making fudge. However, I'm here to walk you through the process one step at a time (and it is super easy!)
Jump to:
If you're making fudge for the holidays, be sure to check out my favorite Christmas fudge recipes!
Methods For Making Fudge
When it comes to making fudge, there are two different methods you could use: the stovetop and the microwave.
Using the stovetop is the more traditional way of preparing fudge that also has more technique involved. However, it is not difficult to do!
The microwave is a quick and simple way to easily whip up some tasty fudge! Below, I will outline how to make rich and decadent fudge using both of these methods!
How To Make Fudge On The Stovetop
Follow these step-by-step instructions for making some fudge on the stovetop! For this guide, I'll be using a simple chocolate fudge recipe, but you can follow along with your preferred recipe!
- Grease. To start, you'll need to grease your baking dish (most likely an 8x8 dish) with some nonstick cooking spray. Alternatively, you can line it with parchment paper.
- Add. Next, add your white granulated sugar (2 cups), unsweetened cocoa powder (½ cup), and whole milk (1 cup) to a medium-sized saucepan.
- Boil. Set the heat to medium-high and bring the mixture to a boil while stirring constantly.
- Reduce heat. As soon as the mixture reaches a boil, reduce the heat to low and set your candy thermometer into the pan.
- Simmer. Let it continue to simmer without stirring it until the mixture reaches a temperature of 238°F (114°C), this will take approximately 10 minutes.
- Cool. Remove the saucepan from the heat and allow it to cool down to 110°F (43°C). This will take around 50-70 minutes. Do not stir it while it is cooling.
- Mix vigorously. Once the fudge has reached the ideal temperature, add in room-temperature sliced butter (4 tablespoons) and vanilla extract (1 teaspoon). Mix vigorously with a wooden spoon until thoroughly incorporated and the fudge is no longer shiny.
- Pour into pan. Pour it into the prepared dish and press it down to flatten it and smooth out the top.
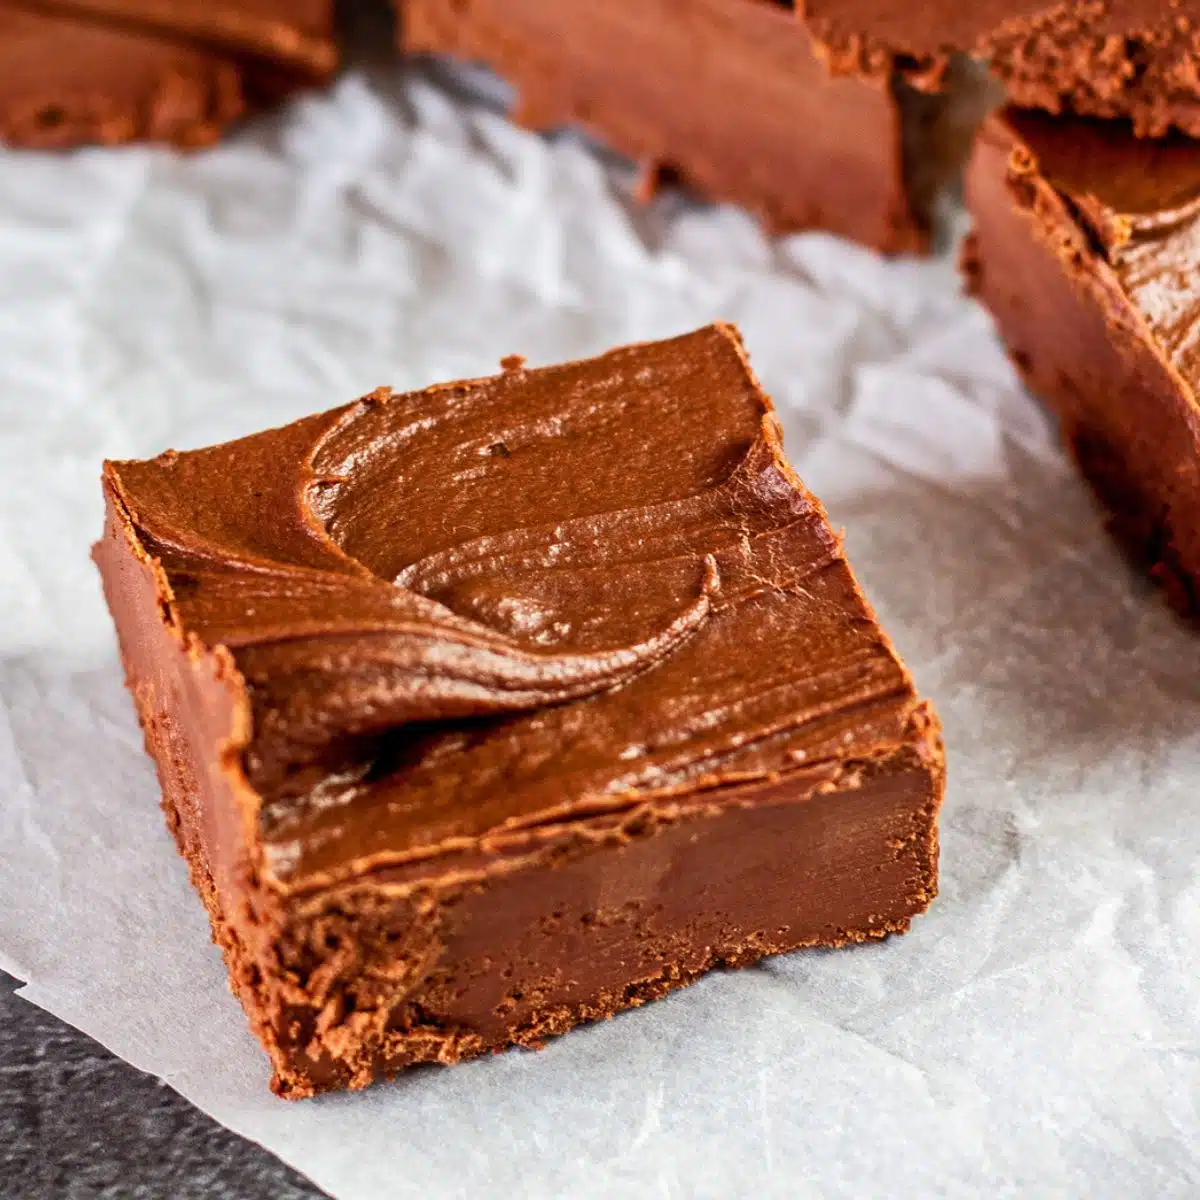
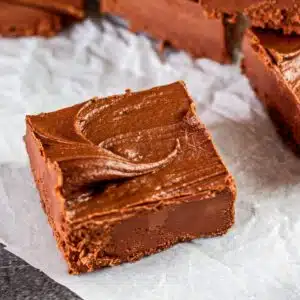
- Cool. Allow it to cool completely (either in the fridge or at room temperature) and then cut it into 1-inch squares to serve.
Equipment
For making stovetop fudge, you'll need the following items.
Saucepan: Opt for a heavy saucepan as it will heat more evenly, ensuring that the ingredients will be less likely to scorch while cooking. You'll want to use one that could hold about twice the volume of your fudge recipe.
Candy Thermometer: You'll need a candy thermometer to make sure that your fudge is reaching the proper temperatures in order to set correctly. This is especially important when making fudge, as it requires very precise temperatures to make (it's all science after all). Choose one that clamps onto the side of your saucepan.
Wooden Spoon: You'll need a sturdy wooden spoon with a long handle for stirring your fudge.
Baking Dish: The size of baking you need will depend on the recipe you are using. However, the size will determine how thick or thin your fudge is (since this is where your fudge will be cooled). Choose a large dish if you want thinner pieces. Make sure to properly grease your dish or line it with parchment paper to prevent it from sticking.
Knife: You'll want a sharp knife for slicing your cooled fudge into squares.
Tips For Stovetop Fudge
Be accurate: Make sure to read the recipe thoroughly and use a candy thermometer for the most accurate results. You'll want to make sure that the fudge reaches the proper temperature (as well as cools to the specified temperature).
Oil the saucepan: This is an optional step that is preferred by many candy makers. You can use a pastry brush to oil the sides of the saucepan before you begin in order to keep the sugar from sticking to the side.
Stir only when directed: Fudge is made using a specific process. You'll need to stir while the mixture is coming to a boil, but then don't disturb it at all as it cools down. If you stir the fudge (or even shake the pan) when you aren't supposed to, it will cause the sugar to form large crystals and give your fudge a grainy texture.
Avoid scraping the pan: When the fudge is done and you are pouring it into the baking dish to cool, don't scrape down the edges of the pan. This could add the previously mentioned sugar crystals to your fudge (which makes it grainy).
Clean the spoon: Make sure to clean the spoon after each time you use it to avoid adding sugar crystals back into the fudge.

How To Make Fudge In The Microwave
Microwave fudge is incredibly simple as you are just melting and mixing together ingredients! There is no candy thermometer required here, but you will need a microwave-safe bowl, a spoon for stirring, and a baking dish for your fudge to cool in.
For this step-by-step guide, I'll be referencing my simple Christmas fudge recipe, but you can use your own recipe (like my microwave peanut butter fudge)! Keep in mind that your measurements and ingredients may differ, but the process is the same!
- Prepare. To start, you'll need to line a baking dish with parchment paper or grease it lightly with nonstick spray (I used an 8x8 dish).
- Add. Add your sweetened condensed milk (14 ounces) and chocolate chips (2 cups) to a microwave-safe bowl.
- Melt. Microwave for 30 seconds and then stir. Continue to microwave the chocolate, 15 seconds at a time, making sure to stir after each one until melted.
- Stir. Stir in the vanilla extract (2 teaspoons) or any other mix-ins or extracts that your recipe may call for.
- Pour. Pour the mixture into the baking dish and smooth out the top.
- Toppings. Add any toppings you may like (sprinkles, nuts, candy, etc).
- Chill. Set the fudge in the refrigerator and allow it to chill for at least an hour.
- Slice. Remove the fudge from the fridge and use a sharp knife to slice it into 1-inch squares.
Best Beginners Fudge Recipes
There are a ton of different fudge recipes out there! If you are just starting out and only want to dip your toes into the fudge-making world, look out for recipes that call for corn syrup, marshmallow creme, or marshmallows. These ingredients are less likely to crystalize (as opposed to standard sugar), so you won't have to worry about grainy fudge.
Additionally, cream or condensed milk are great ingredients to use as they are less likely to curdle than whole milk.
Don't worry, even if you use one of these 'simpler' variations, you will still end up with smooth and creamy fudge!
Storing Fudge
For best results, slice your fudge before storing it. Place the pieces into an airtight container, separating them with wax or parchment paper. They can then be kept in the refrigerator for up to 3 weeks.
You can also store fudge in the freezer! Wrap each piece of fudge individually in plastic wrap to keep them from sticking together. Then, place them into an airtight container or Ziploc bag and freeze them for up to 3 months.
Fudge Variations
There is so much more to fudge than just plain chocolate (although that is still a delicious option)! You can experiment with different flavors, like pumpkin, peanut butter, caramel, white chocolate, or butterscotch! The options are endless.
Additionally, you can get creative with different kinds of toppings! Try out some crushed candy canes, chocolate chips, sliced nuts, sprinkles, Oreo cookies, or anything else you might like!
Now you know everything you need to know to make some decadent and creamy fudge! Leave a comment down below and let me know what kind of fudge you want to make first!
>>>>See all of my recipes here<<<<
📖 More Baking Guides
- How To Make Shortbread Cookies - Learn how to make some tender and buttery shortbread cookies!
- What To Do With Extra Cookie Dough - Find out a bunch of tasty ways to use up any extra cookie dough!
- How To Make Sugar Cookies - This guide is loaded with tips and tricks for preparing perfect sugar cookies!
- How To Make Dump Cakes - Dump cakes are incredibly easy to make and this guide will show you how to do it!
- Fix An Undercooked Cheesecake - Learn how to save your undercooked cheesecakes!
- Cookies That Freeze Well - These cookies are all perfect for making in advance and storing in the freezer for later!
Do you love a recipe you tried? Please leave a 5-star 🌟rating in the recipe card below and/or a review in the comments section further down the page.
Stay in touch with me through social media @ Pinterest, Facebook, Instagram, or Twitter! Subscribe to the newsletter today (no spam, I promise)! Don't forget to tag me when you try one of my recipes!
📖 Recipe Card
How To Make Fudge: Christmas Fudge (+Tips & Tricks)
Ingredients
- 14 oz sweetened condensed milk
- 2 cups semi-sweet chocolate chips (mini, or dark chocolate chips)
- 2 teaspoon vanilla extract
- 2 tablespoon Christmas sprinkles
(Note: 2x or 3x only changes the ingredient list)
Instructions
- To get started, line an 8x8 baking dish with parchment paper and lightly spritz it with nonstick cooking spray, allowing some of the paper to hang over the edges so you can easily remove the fudge.
- In a large microwave-safe bowl, add your sweetened condensed milk and chocolate chips.
- Microwave on high power for 30 seconds, and then stir. Continue to microwave the chocolate in 15-second increments, stirring in between each session until the chocolate has melted.
- Stir in the vanilla extract.
- Pour the fudge into the prepared dish and use an offset spatula or knife to smooth out the top.
- Add your Christmas sprinkles evenly over the top of the fudge.
- Transfer the dish to the refrigerator and allow it to set for at least one hour.
- Once set, lift the fudge out of the dish and slice it evenly into squares before serving.
Notes
- You can choose to use any kind of chocolate chips you like! I used semi-sweet, but dark chocolate is a great option, too.
- I used mini chocolate chips because they melt so easily!
- If you like, you can always mix in ¾ cup of your favorite kind of nuts like walnuts, pecans, or peanuts!
- You can use any of your favorite Christmas-themed sprinkles to add some festive touches!
- To Store: Keep any leftover fudge in an airtight container at room temperature for up to 2 weeks. Storing fudge in the fridge (after initially setting the fudge) will result in dry, crumbly fudge that is simply not as delicious as it could be.
- To Freeze: This fudge can also be stored in an airtight container in the freezer for up to 3 months. I recommend wrapping your individual pieces with waxed paper, then with a layer of cling film before storing.
Comments
No Comments